


How to Avoid Heat Styling Damage: Full Guide
Table of Contents
- Why Heat Styling Damage Happens (And What's Actually at Risk)
- Signs of Heat Damaged Hair You Shouldn't Ignore
- Choosing the Best Heat Protectant Spray for Your Hair Type
- Optimal Temperature for Hair Styling Tools by Hair Type
- Pre-Styling Preparation: The Steps That Prevent Heat Styling Damage
- Heatless Styling Methods That Actually Work
- Recovery Protocols for Already Damaged Hair
- Conclusion
Last Updated: August 15, 2026
Why Heat Styling Damage Happens (And What's Actually at Risk)
Heat styling damage is the structural breakdown of the hair shaft caused by excessive thermal exposure, which disrupts the protein bonds that give hair its strength, elasticity, and shine. Most people understand heat is bad for hair but don't grasp the specific mechanism, and that gap is why damage-prevention routines fail.
Hair is primarily composed of keratin, a protein structure held together by hydrogen bonds, disulfide bonds, and salt bonds. Heat disrupts hydrogen bonds almost immediately. Sustained high heat breaks disulfide bonds, the structural anchors that determine curl pattern, elasticity, and tensile strength. Once compromised, no deep conditioner fully restores them. Prevention is the only real solution.
According to American Academy of Dermatology hair care guidance, repeated heat exposure without adequate protection is one of the leading causes of acquired hair fragility and breakage.
How Hair Porosity Determines Your Damage Risk
Hair porosity is the hair's ability to absorb and retain moisture, determined by how open or closed the cuticle layer sits. It's the single biggest variable in how quickly heat causes damage.
- Low porosity hair: Cuticles lie flat and tightly sealed. Heat takes longer to penetrate, but damage concentrates once it does. Heat protectants may bead off if applied to dry hair rather than damp.
- Normal porosity hair: Cuticles are slightly raised. Absorbs products well, tolerates moderate heat with proper protection.
- High porosity hair: Cuticles are raised or damaged from chemical processing or prior heat damage. Absorbs heat rapidly and loses moisture just as fast, making it highest risk for compounding damage.
Knowing your porosity determines which products you use, how you apply them, and what temperatures are actually safe.
Tool-Specific Heat Damage Profiles: Flat Iron vs. Curling Wand vs. Blow Dryer
Not all heat tools damage hair the same way.
Flat irons apply direct, concentrated heat through clamped plates. Ceramic plates distribute heat more evenly than metal; tourmaline-coated plates add ionic technology that seals the cuticle as you style.
Curling wands wrap hair around a barrel, creating sustained one-sided contact. The side touching the barrel gets significantly more heat than the outer side, causing uneven heating and damage.
Blow dryers apply diffuse, moving heat with lower per-pass damage, but typically cover more hair for longer total time. Holding the dryer too close or using high heat before hair reaches 90% dry dramatically increases risk.
| Tool | Heat Contact Type | Primary Damage Risk | Safer Alternative Feature |
|---|---|---|---|
| Flat iron | Direct, clamped | Hot spots, bond breakage | Ceramic or tourmaline plates |
| Curling wand | Wrapped, one-sided | Uneven heat distribution | Adjustable temperature control |
| Blow dryer | Diffuse, moving | Prolonged total exposure | Ionic technology, diffuser attachment |
Signs of Heat Damaged Hair You Shouldn't Ignore
Early signs of heat damage are subtle but critical to catch.
Watch for:
- Split ends that travel up the shaft: Heat damage causes splits extending several centimeters up the strand, signaling compromised internal protein structure.
- Loss of elasticity: Healthy hair stretches when wet and springs back. Damaged hair snaps instead.
- Texture change: Hair that used to hold curl now falls flat immediately after styling, indicating disrupted disulfide bonds.
- Chronic dryness despite conditioning: High porosity from heat damage means moisture evaporates as fast as you apply it.
- Increased breakage during detangling: Hair breaking mid-shaft shows structural failure, not just surface dryness.
Heat damage accumulates gradually. A single high-temperature session rarely causes visible damage; it's repeated exposure over weeks and months that crosses the threshold.
Choosing the Best Heat Protectant Spray for Your Hair Type
The best heat protectant spray matches your porosity, coats the hair shaft thoroughly before heat is applied, and contains ingredients that form a genuine thermal barrier, not just a silicone film.
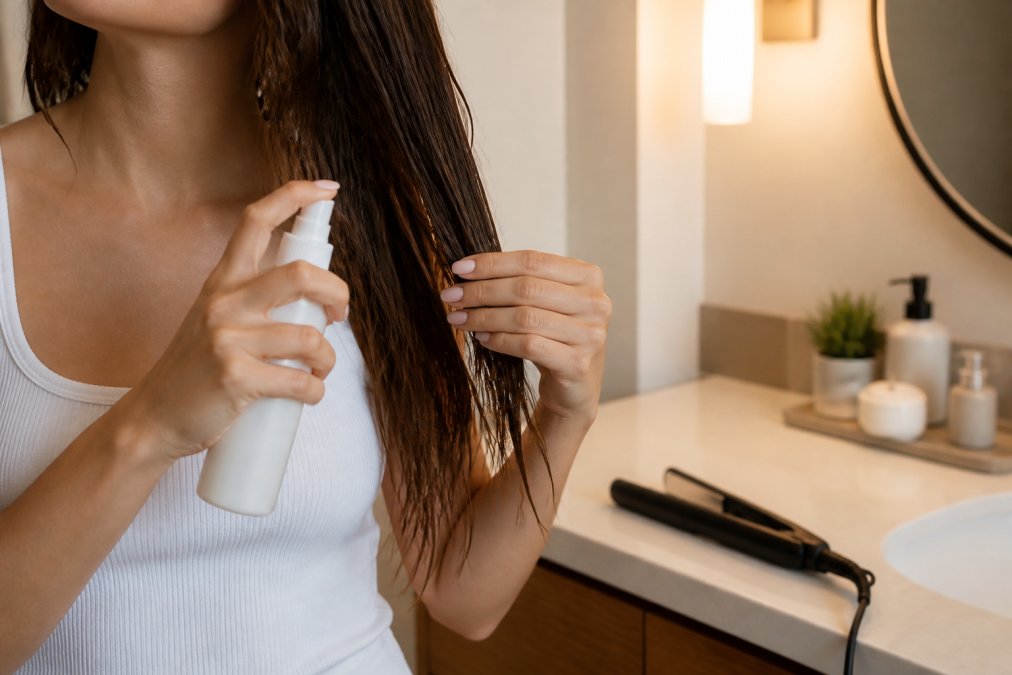
A common mistake is applying protectant to dry hair right before styling. For low-porosity hair especially, the product won't absorb properly. Apply to damp hair, work through in sections, and allow it to absorb before applying heat.
For fine hair, lightweight sprays work best. For thick or coarse hair, cream-based protectants provide better coverage across the wider hair shaft.
Key Ingredients That Actually Build a Thermal Barrier
Dimethicone and cyclomethicone are silicone-based polymers that coat the cuticle and slow thermal conductivity into the shaft. They're the workhorses of most spray protectants.
Hydrolyzed proteins (wheat, keratin, silk) fill gaps in damaged cuticles and temporarily reinforce the hair shaft, especially valuable for high-porosity hair.
Panthenol (Pro-Vitamin B5) penetrates the hair shaft and binds moisture, improving elasticity and reducing brittleness before heat is applied.
Glycerin and humectants attract moisture to the hair, buffering against thermal stress. In very low humidity, glycerin can pull moisture out instead.
Argan oil and plant-based oils provide a secondary thermal layer and moisture retention, working best as a finishing layer over silicone-based protectant.
According to National Institutes of Health research on hair fiber structure and thermal protection, combining film-forming agents and hydrating compounds provides measurably better protection than either alone.
Optimal Temperature for Hair Styling Tools by Hair Type
Using the highest setting because "it works faster" is the most common and most damaging mistake in heat styling.
General guidelines by hair type:
- Fine or damaged hair: 250-300°F (120-150°C). Fine strands reach damaging temperatures faster than thicker hair.
- Normal or medium texture hair: 300-350°F (150-175°C). This range covers most styling needs without unnecessary thermal stress.
- Thick, coarse, or resistant hair: 350-400°F (175-200°C). Higher temperatures may be needed, but pair with high-quality protectants and fewer passes.
- Natural or highly textured hair: Start at the lower end and increase only if needed. High-porosity natural hair is particularly vulnerable to rapid heat absorption.
Temperature settings on styling tools are not standardized. Invest in a tool with precise digital temperature readout rather than a dial.
Pre-Styling Preparation: The Steps That Prevent Heat Styling Damage
Preparation determines how much damage you cause more than the tool itself.
A solid pre-styling routine:
- Cleanse with sulfate-free shampoo to avoid stripping natural oils that provide baseline moisture protection.
- Apply deep conditioner or leave-in conditioner while hair is wet to load the shaft with moisture before heat.
- Detangle gently with a wide-tooth comb from ends to roots while conditioner is in. Detangling dry or heat-styled hair causes mechanical breakage.
- Rinse and apply leave-in conditioner to damp hair to continue providing moisture retention.
- Apply heat protectant spray to damp hair, section by section.
- Dry to the 90% threshold before using direct-contact heat tools.
The 90% Dry Rule and Why It Matters
Hair should be approximately 90% dry before applying a flat iron or curling wand. Hair with significant moisture undergoes rapid steam conversion when pressed between heated plates, causing microscopic fractures that accumulate into visible damage.
The practical test: press a small section between your fingers. If it feels cool and slightly damp, keep drying. If it feels room temperature and dry, you're ready.
Sectioning Techniques That Reduce Tool Passes
Every pass of a flat iron or curling wand adds cumulative heat exposure. The goal is to style each section in as few passes as possible, ideally one.
Most people need multiple passes because sections are too large. A section no wider than the tool's plates and no thicker than about half a centimeter is the target. Work from bottom upward, clipping away sections you're not currently working on to prevent re-exposure to heat.
Heatless Styling Methods That Actually Work
Heatless styling methods shape, wave, or curl hair without thermal tools, relying on tension, moisture, and time. For many hair types, they produce results lasting longer than heat-styled versions because the style sets as hair dries.
Methods that consistently deliver results:
Overnight braids: Braid damp hair in two to four sections. Looser braids create beachy waves; tighter, smaller braids create defined waves or crimps.
Flexi rods and foam rollers: Apply to damp hair with light hold product, allow to dry completely, and remove. Works especially well for natural and curly hair.
Twist-outs: Divide damp hair into sections, apply curl cream or leave-in conditioner, and twist each section. Allow to dry fully before untwisting.
Silk or satin wrapping: Wrap hair around the head and secure with a satin scarf overnight to maintain a blowout for additional days, eliminating daily re-styling.
According to American Academy of Dermatology guidance on protective styling, reducing heat styling frequency is one of the most effective long-term strategies for maintaining hair health.
Recovery Protocols for Already Damaged Hair
Recovering from heat damage requires a different approach than prevention. You cannot reverse disulfide bond damage, but you can fill gaps, restore moisture retention, prevent further breakage, and grow out damaged sections while protecting new growth.
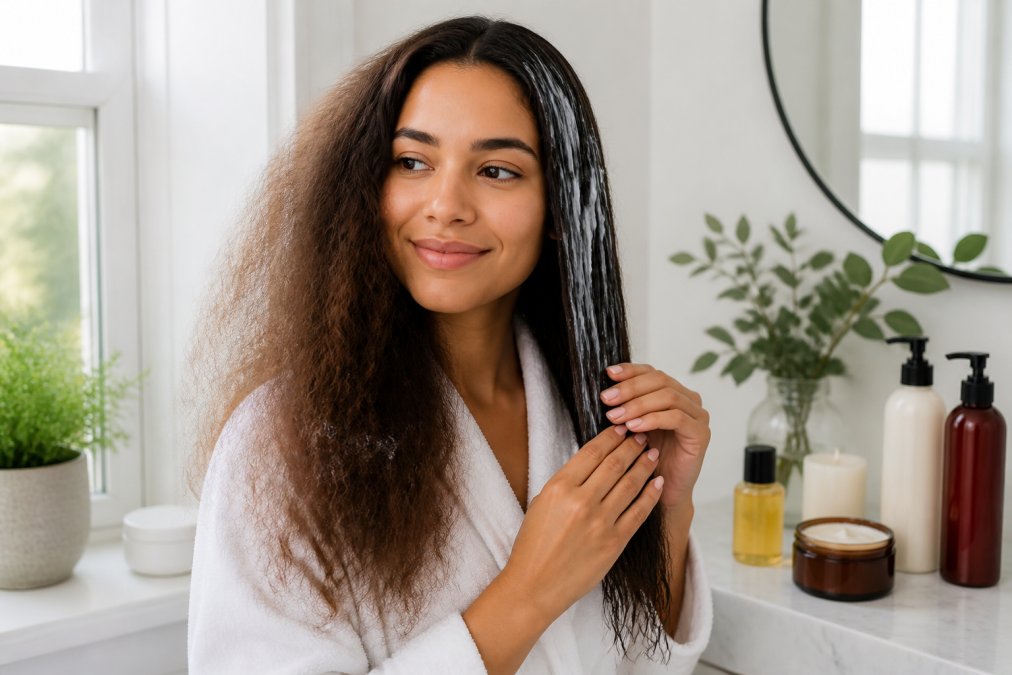
A structured recovery protocol:
Week 1-2: Clarify and assess. Use clarifying shampoo to remove product buildup. Assess porosity with the float test.
Ongoing: Protein treatments every 2-4 weeks. Hydrolyzed protein treatments temporarily fill cuticle gaps and reinforce the hair shaft. Alternate with deep conditioning to avoid brittleness.
Daily: Leave-in conditioner and sealing oil. High-porosity damaged hair loses moisture rapidly. Leave-in conditioner adds moisture; light oil seals the cuticle and slows evaporation.
Reduce heat frequency aggressively. During recovery, aim for no more than one heat-styling session per week at the lowest effective temperature.
Protect new growth. Hair emerging from your scalp is undamaged. Protect it with proper temperature settings, heat protectant, and the 90% dry rule from day one.
Protein treatments and deep conditioning work best with gentle heat, a hooded dryer or heated cap on low opens the cuticle slightly and allows deeper penetration.
| Recovery Stage | Primary Focus | Key Products | Frequency |
|---|---|---|---|
| Initial (weeks 1-2) | Clarify, assess damage level | Clarifying shampoo, protein treatment | Once |
| Active repair (weeks 3-8) | Restore protein and moisture balance | Hydrolyzed protein, deep conditioner | Weekly |
| Maintenance | Prevent further damage, protect new growth | Leave-in conditioner, heat protectant, sealing oil | Daily |
| Long-term | Grow out damage, strategic trims | All of the above | Ongoing |
For more on hair fiber repair science, the International Journal of Trichology research on hair damage and repair provides thorough breakdown of how protein treatments interact with compromised cuticle structures.
Heat styling damage is one of the most preventable forms of hair loss and breakage, but prevention requires more than a generic spray and vague sense of "don't use too much heat." The Chaska Life All-In-1 Air Styler is designed with exactly this problem in mind: by combining drying, straightening, and curling into a single tool with controlled airflow and temperature, it reduces the number of heat passes your hair endures in a single session. Fewer tools, fewer passes, and consistent temperature control add up to a lower cumulative heat load on your hair. Get started with The Chaska Life and protect your hair from the compounding damage that comes with using multiple tools at maximum heat every day.
Frequently Asked Questions
Does heat styling always damage your hair?
Not necessarily. Heat styling causes damage when tools are used at temperatures too high for your hair type, when hair is styled while still wet, or when no thermal protection is applied. Hair with high porosity is especially vulnerable because the cuticle is already raised and loses moisture faster. Used correctly, with the right temperature, a quality heat protectant spray, and limited frequency, heat styling can be done without significant harm to hair health.
What is the least damaging way to heat style your hair?
The least damaging approach combines several habits: apply a heat protectant spray before every session, ensure hair is at least 90% dry before using a flat iron or curling wand, set your tool to the lowest effective temperature for your hair texture, and work in clean sections so each strand passes through the tool only once. Ceramic plates distribute heat more evenly than bare metal, which also reduces concentrated hot spots that cause breakage and split ends.
Can heat-damaged hair actually be repaired?
Once the hair shaft is structurally broken, that section cannot be fully restored, only new growth comes in undamaged. However, you can significantly improve the appearance and manageability of damaged hair. Deep conditioning treatments rebuild moisture retention, protein treatments restore elasticity, and leave-in conditioners smooth the cuticle. Trimming split ends prevents further breakage from traveling up the shaft. Consistent care over several months produces noticeable improvement while new, healthy hair grows in.
How often should I heat style my hair to avoid damage?
Most hair types tolerate heat styling two to three times per week without serious cumulative damage, provided proper protection is used each time. Fine or high-porosity hair benefits from limiting sessions to once or twice weekly. On off days, heatless styling methods, braids, twist-outs, roller sets, give your hair cuticle time to recover moisture and reduce overall thermal stress. Frequency matters as much as technique when it comes to long-term hair health.
Is using one multi-function styling tool better for my hair than using separate tools?
A single well-designed air styler can reduce total heat exposure compared to using a blow dryer followed by a flat iron or curling wand separately. Each tool pass adds cumulative thermal stress, so combining drying and styling into one step lowers the number of times heat contacts the hair shaft. The key is that the tool offers precise temperature control suited to your hair type, without that, the tool count matters less than the settings you choose.
What heat protectant ingredients should I look for?
Look for ingredients that form a genuine thermal barrier rather than just coating the surface. Dimethicone and cyclomethicone create a protective film that deflects heat. Hydrolyzed keratin and silk proteins reinforce the hair shaft and support elasticity. Panthenol (vitamin B5) aids moisture retention inside the cuticle. For natural hair or high-porosity hair, formulas that also include oils like argan or avocado provide an additional layer of protection without weighing the hair down.
This article was written using GrandRanker